Tomato Propagation – preparing for next season

Not quite a drinking vintage!

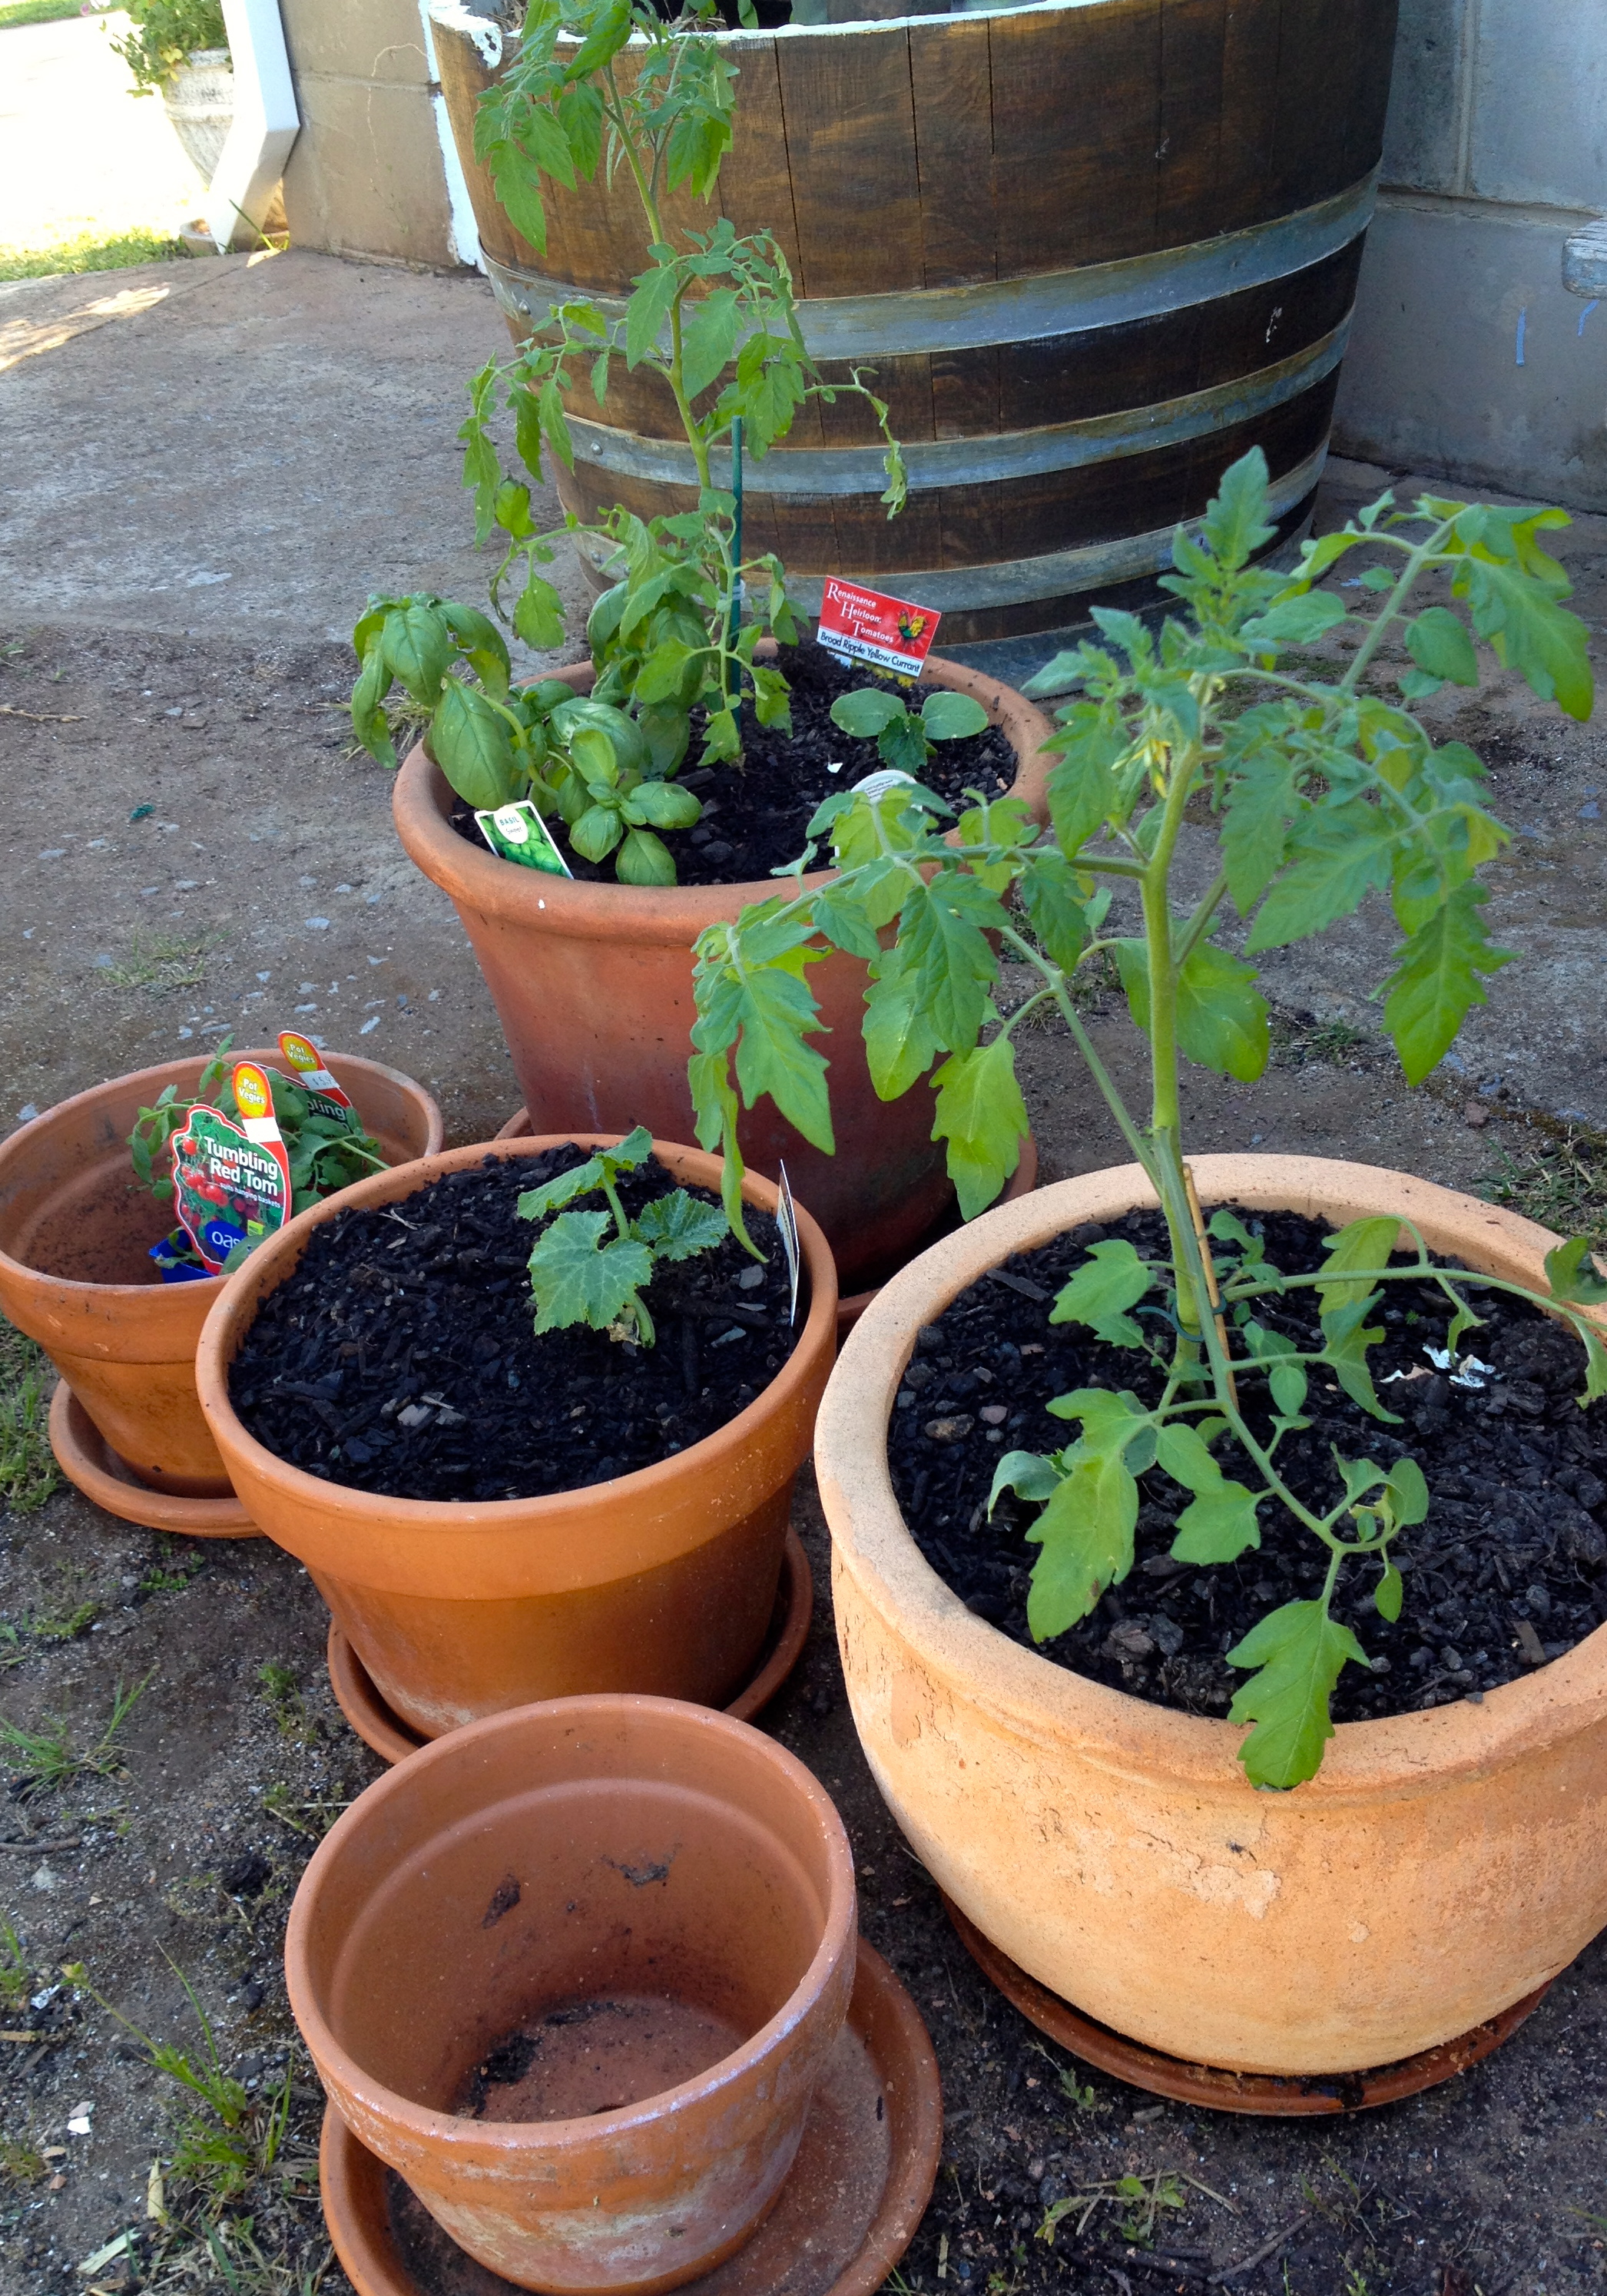
I’m getting braver with my gardening and now endeavouring to propagate my plants. I went to considerable trouble sourcing varieties of cherry tomatoes so it makes sense to keep the seeds of the successful plants for next season.

After a bit of research, my approach was:

  • Pick tomatoes that are ripe but healthy and not over ripe
  • Deseed them (I used a spoon) and put seeds in a labelled container. I used wine glasses which suited the process well.
  • Add a little water and swirl to mix.
  • Cover the container with plastic wrap with a hole to allow for limited air circulation.
  • Each day swirl the glass to mix. What happens is that the seeds in the liquid will ferment and gradually break away from the glutinous covering.
  • I left mine for about five days in warm weather, but which time they looked a bit scummy and fermented.
  • Add cold water and swirl, then put through a fine strainer. Rinse the seeds in the strainer until all the muck is cleaned off and you just have clean seeds.
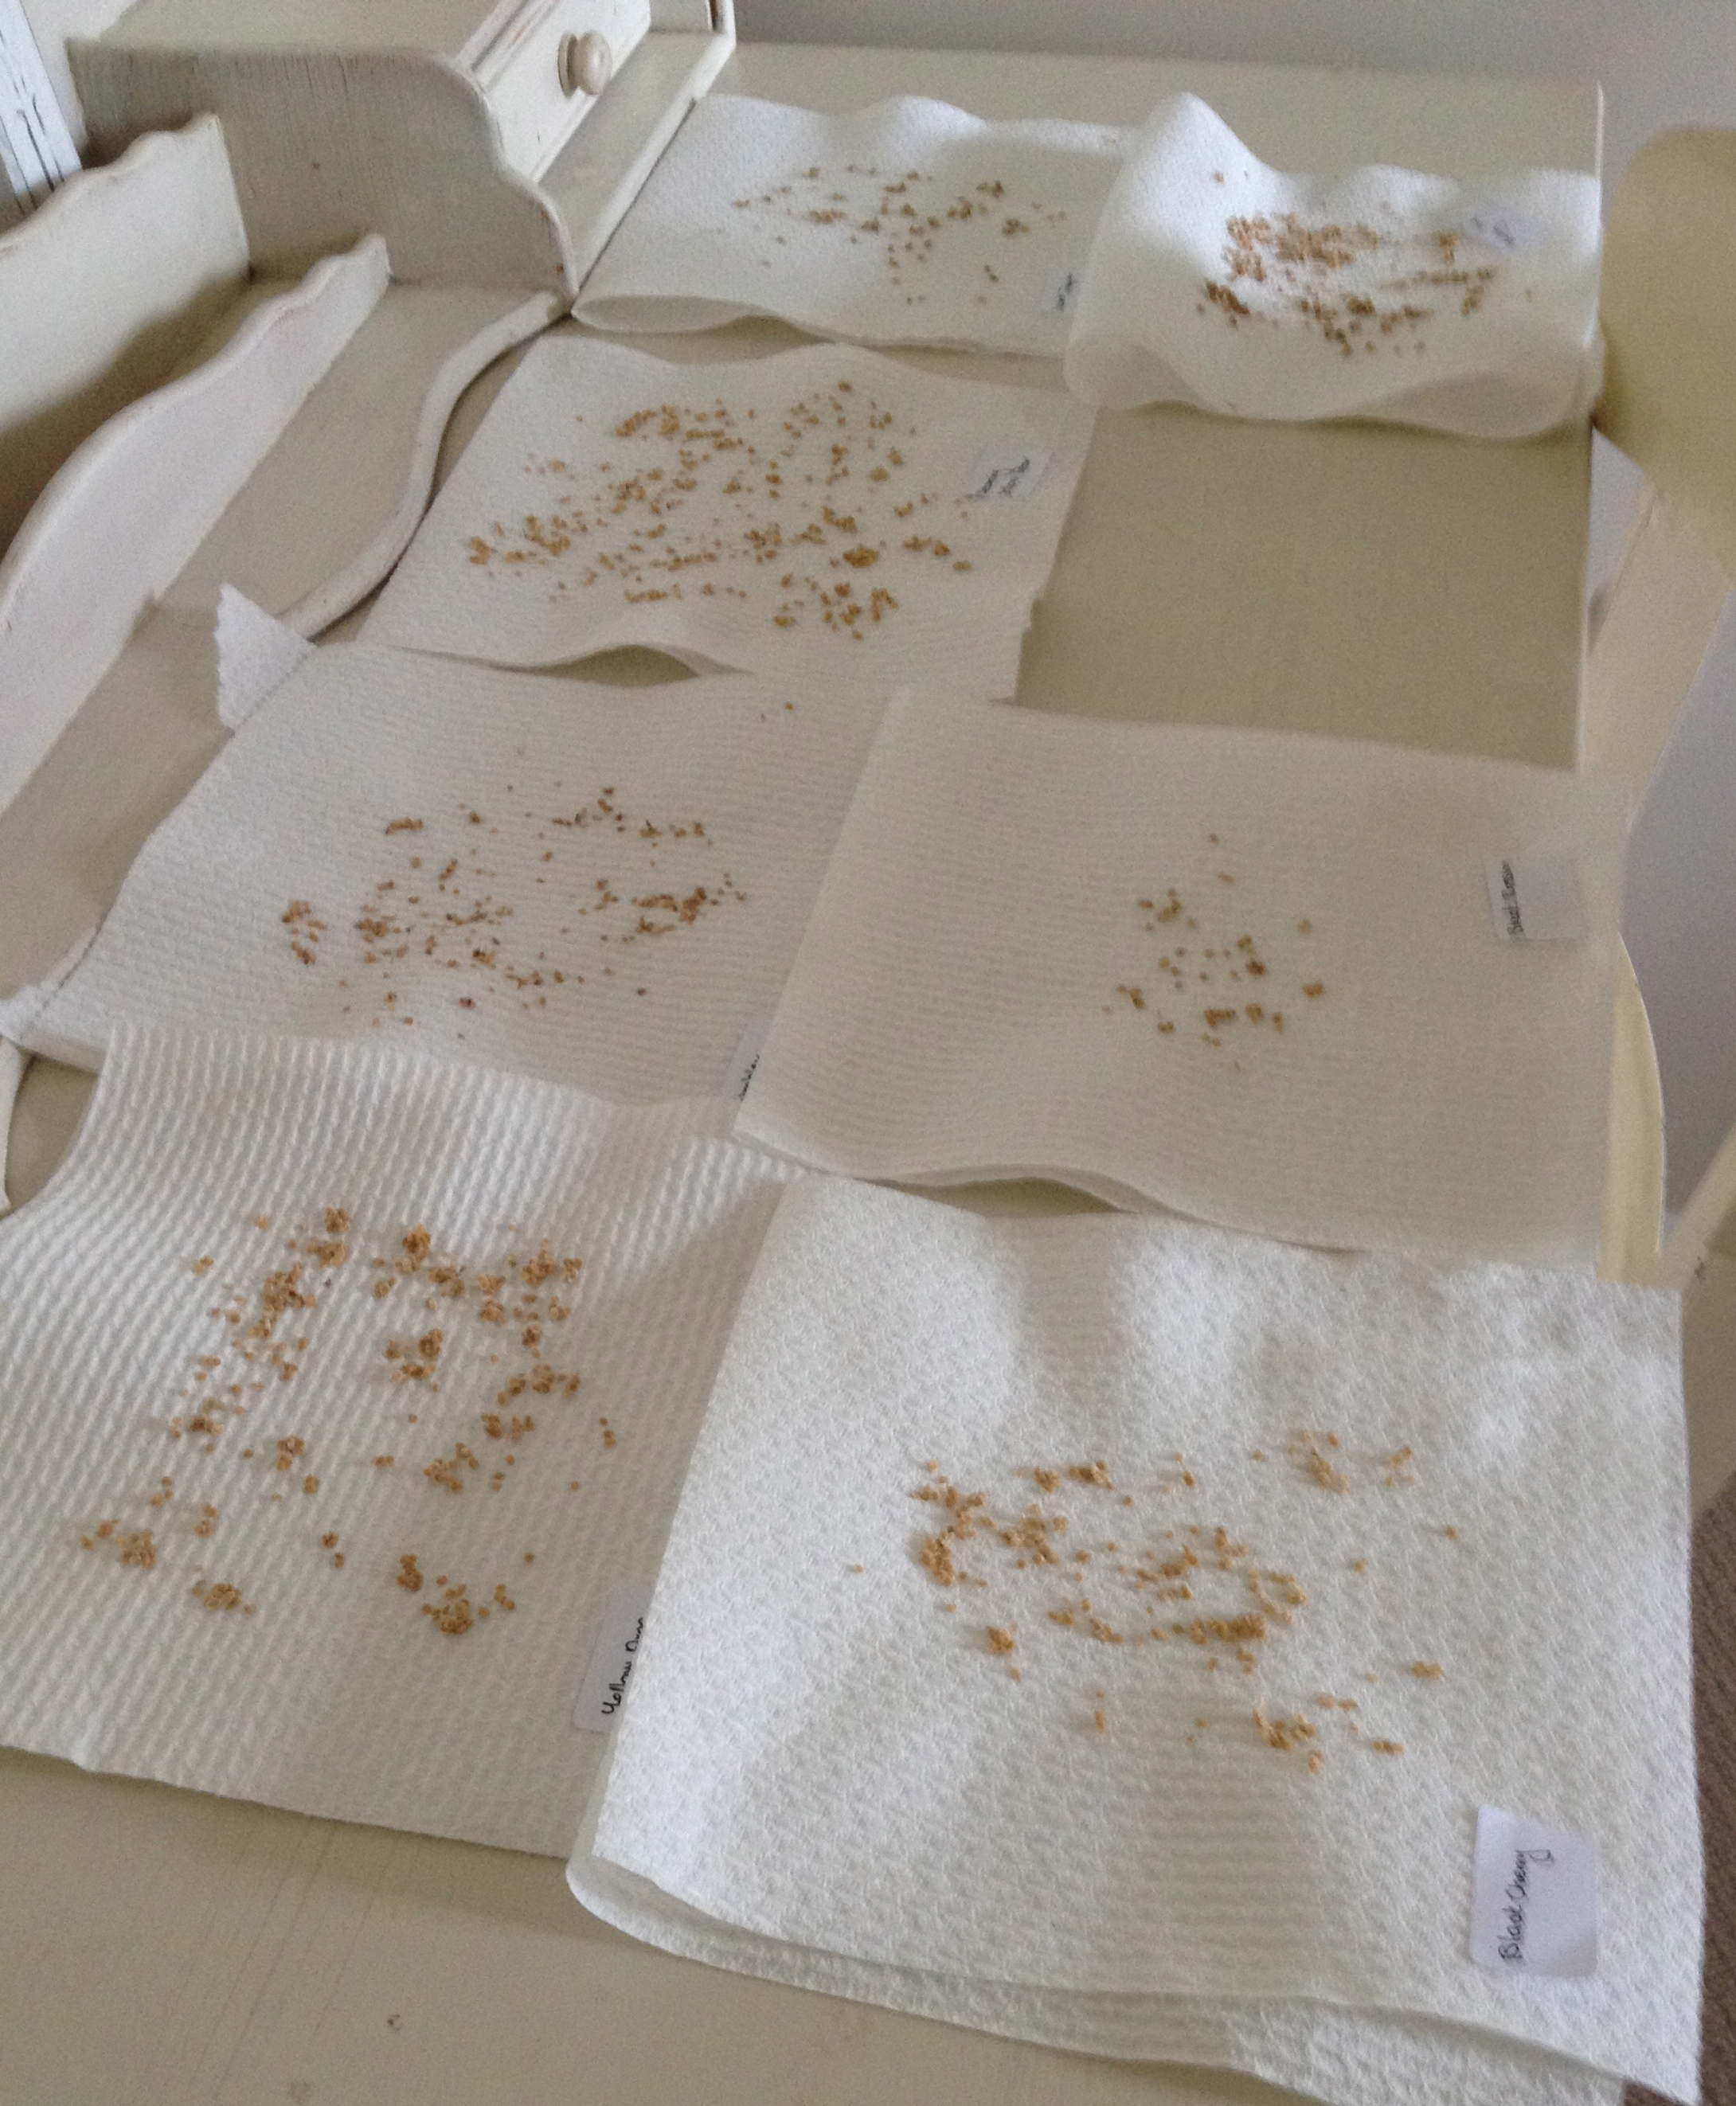
  • Spread the seeds out on paper towels to dry – choose a dry place free from winds or drafts.
  • Leave for a few days until fully dry, fold paper towels up with seeds and place in labelled clip lock bags for next growing season.

Remember – this is my first time so I’ll need to wait until next year to see if it is successful. In the meantime I have a great collection of tomato seeds.

Dried and ready for bagging

Tomato Production – semi dried tomatoes

1 1/2 kilos didn't make a dent in this bed. Lots more harvesting still to be done. And lots more tomatoes still to ripen.
1 1/2 kilos didn’t make a dent in this bed. Lots more harvesting still to be done. And lots more tomatoes still to ripen.

It’s that time of the year when tomatoes start to ripen and take over the garden. Some months ago I mentioned I had planted lots of varieties of cherry tomatoes – they seem hardier than the larger varieties and suit me as I can pick a handful of mixed tomatoes for a meal. The hail in November stripped the plants back to bare stems but they have come back with a vengeance and set the challenge to keep up with them as they ripen.

Semidried tomatoes seem to work well with the cherry variety, so I’m drying and bottling as fast as I can. They look so pretty with the range of colours working well together. My approach is pretty simple.

Tomatoes ready for preparation. A lovely collection of colours and shapes.

Firstly I line some baking trays with baking paper (just saves on the mess and makes it easier to pick up any tomatoes that drop through the rack.

I then set racks on the baking trays. The tomatoes can be pretty small and will be much smaller as they dry, so if possible, use two racks crossed over to minimise gaps.

  • Preheat oven at a low heat – 120/140 degrees.
  • Wash and thoroughly dry tomatoes. Cut in half and place in a bowl.
  • Add salt flakes and freshly ground black pepper.
  • Add heaps of chopped fresh herbs – I use oregano.
  • Add a few sloshes of olive oil and make sure all ingredients are well combined.
  • Spread out on racks, trying to keep a single layer to help the drying process.
  • Put on low shelf in oven and allow to dry out – this may take 3 – 5 hours.
  • Remove from oven and place tomatoes in sterilised jars. Top with olive oil. It may help to use a sharp knife of instrument to remove air bubbles from the stacked tomatoes.
  • Seal and enjoy.

These smaller tomatoes are great tossed in salads, pastas and casseroles and provide a rich small explosion of taste.

Happy with these as my first batch. There will be more to come - maybe I'll use basil next time.
Happy with these as my first batch. There will be more to come – maybe I’ll use basil next time.

Tomato Planting Time

Tomatoes in pots
Tomatoes in pots

One of the few vegetables I planted when I first arrived (even before moving in) was tomatoes – mainly the cherry variety. These are great little plants and fruit – being able to pick a handful of mixed varieties for a salad for one person, or harvesting a larger crop for entertaining or preserving. The cherry plants are also a little more manageable than some of the more rampant varieties.

This year is no different, just that I now have more room and can plant more. As usual, like the potatoes, I have approached this with enthusiasm and seem to have collected lots of plants that now need to be planted. The back garden wall is an excellent location, offering lots of sun and is fully wired which saves me from staking. I’m also using terracotta pots and the raised veg beds. I’ve overdone it and think a few may find their way into neighbour’s gardens. So far for the cherries I have:

Tomatoes on the back wall
  • Cherry Gold
  • Orange Sunrise
  • Sweetbite
  • Grape Toms
  • Yellow Pear (a favourite visually for colour and shape – tastes good too)
  • Broad Ripple Yellow Currant
  • Cherry Ripe
  • Cherry Roma
  • Truss Sweet
  • Cocktail
  • Mini Roma
  • Black Cherry (sounds dramatic)
  • Sun Drop
  • Little Sugar Yellow
  • Pink Cherry
  • Cherry Falls

For larger varieties I have

  • Tumbling Red Tom
  • Tumbler Yellow
  • Grosse Lisse
  • Beef Steak (sounds like a “Man’s Tomato”)
  • Black Russian

This time, all varieties are clearly tagged so I can determine the best performers (or best locations). I’ll also collect and label seeds. It’s been a bit disappointing that I don’t seem to have plants coming up from last year’s crop. I was careful to leave some of the tomatoes to self-seed. Well, it’s still early in the season.

Tomatoes in the veg beds. I'm sure I can find a few more places for them. I'll have to!
Tomatoes in the veg beds. I’m sure I can find a few more places for them. I’ll have to!