The Garden is Flourishing

The front wall bed is now showing some form - the other side of the gate is not quite so health as it serves as Popcorn's turning circle
The front wall bed is now showing some form – the other side of the gate is not quite so healthy as it serves as Popcorn’s turning circle

After many months of no rain, we have had a number of days of good rain over the last few weeks, much to the relief of the farmers. The garden is responding by leaping to life. I understand now much more clearly how watering just keeps gardens alive but rain makes them grow.

The blue salvias are electric
These red salvias have just started to flower and make a lovely contrast to the blue

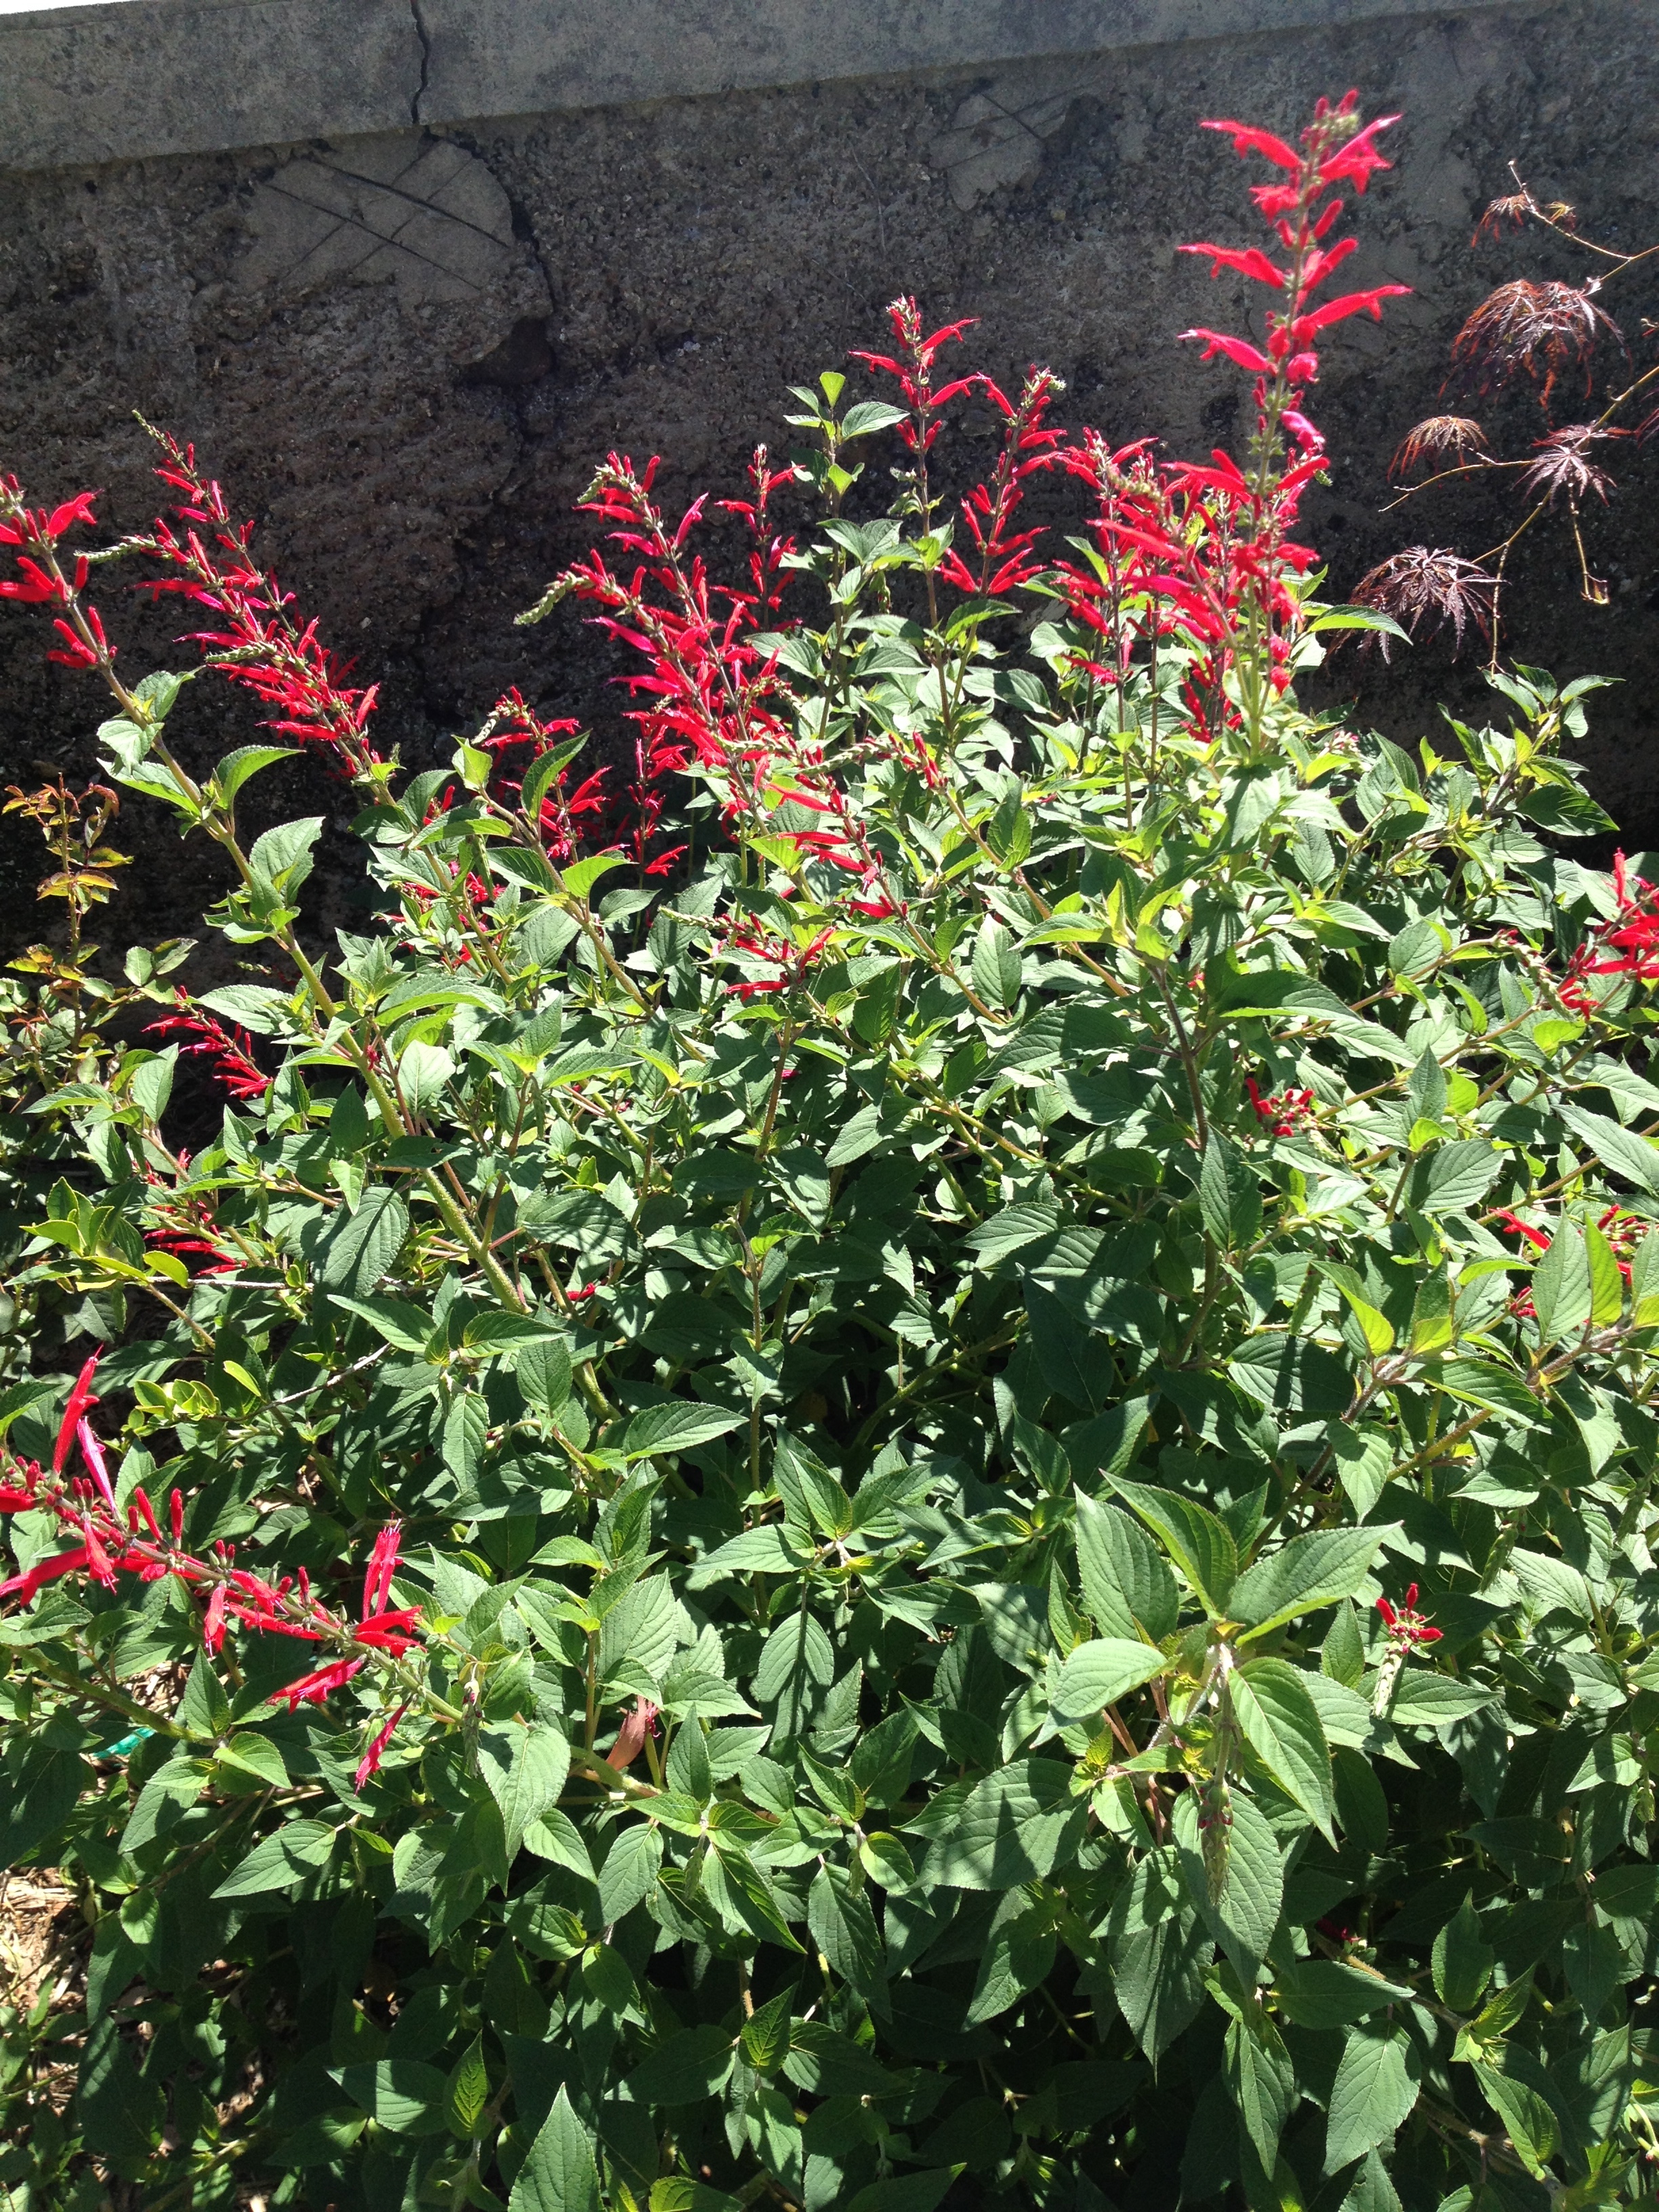
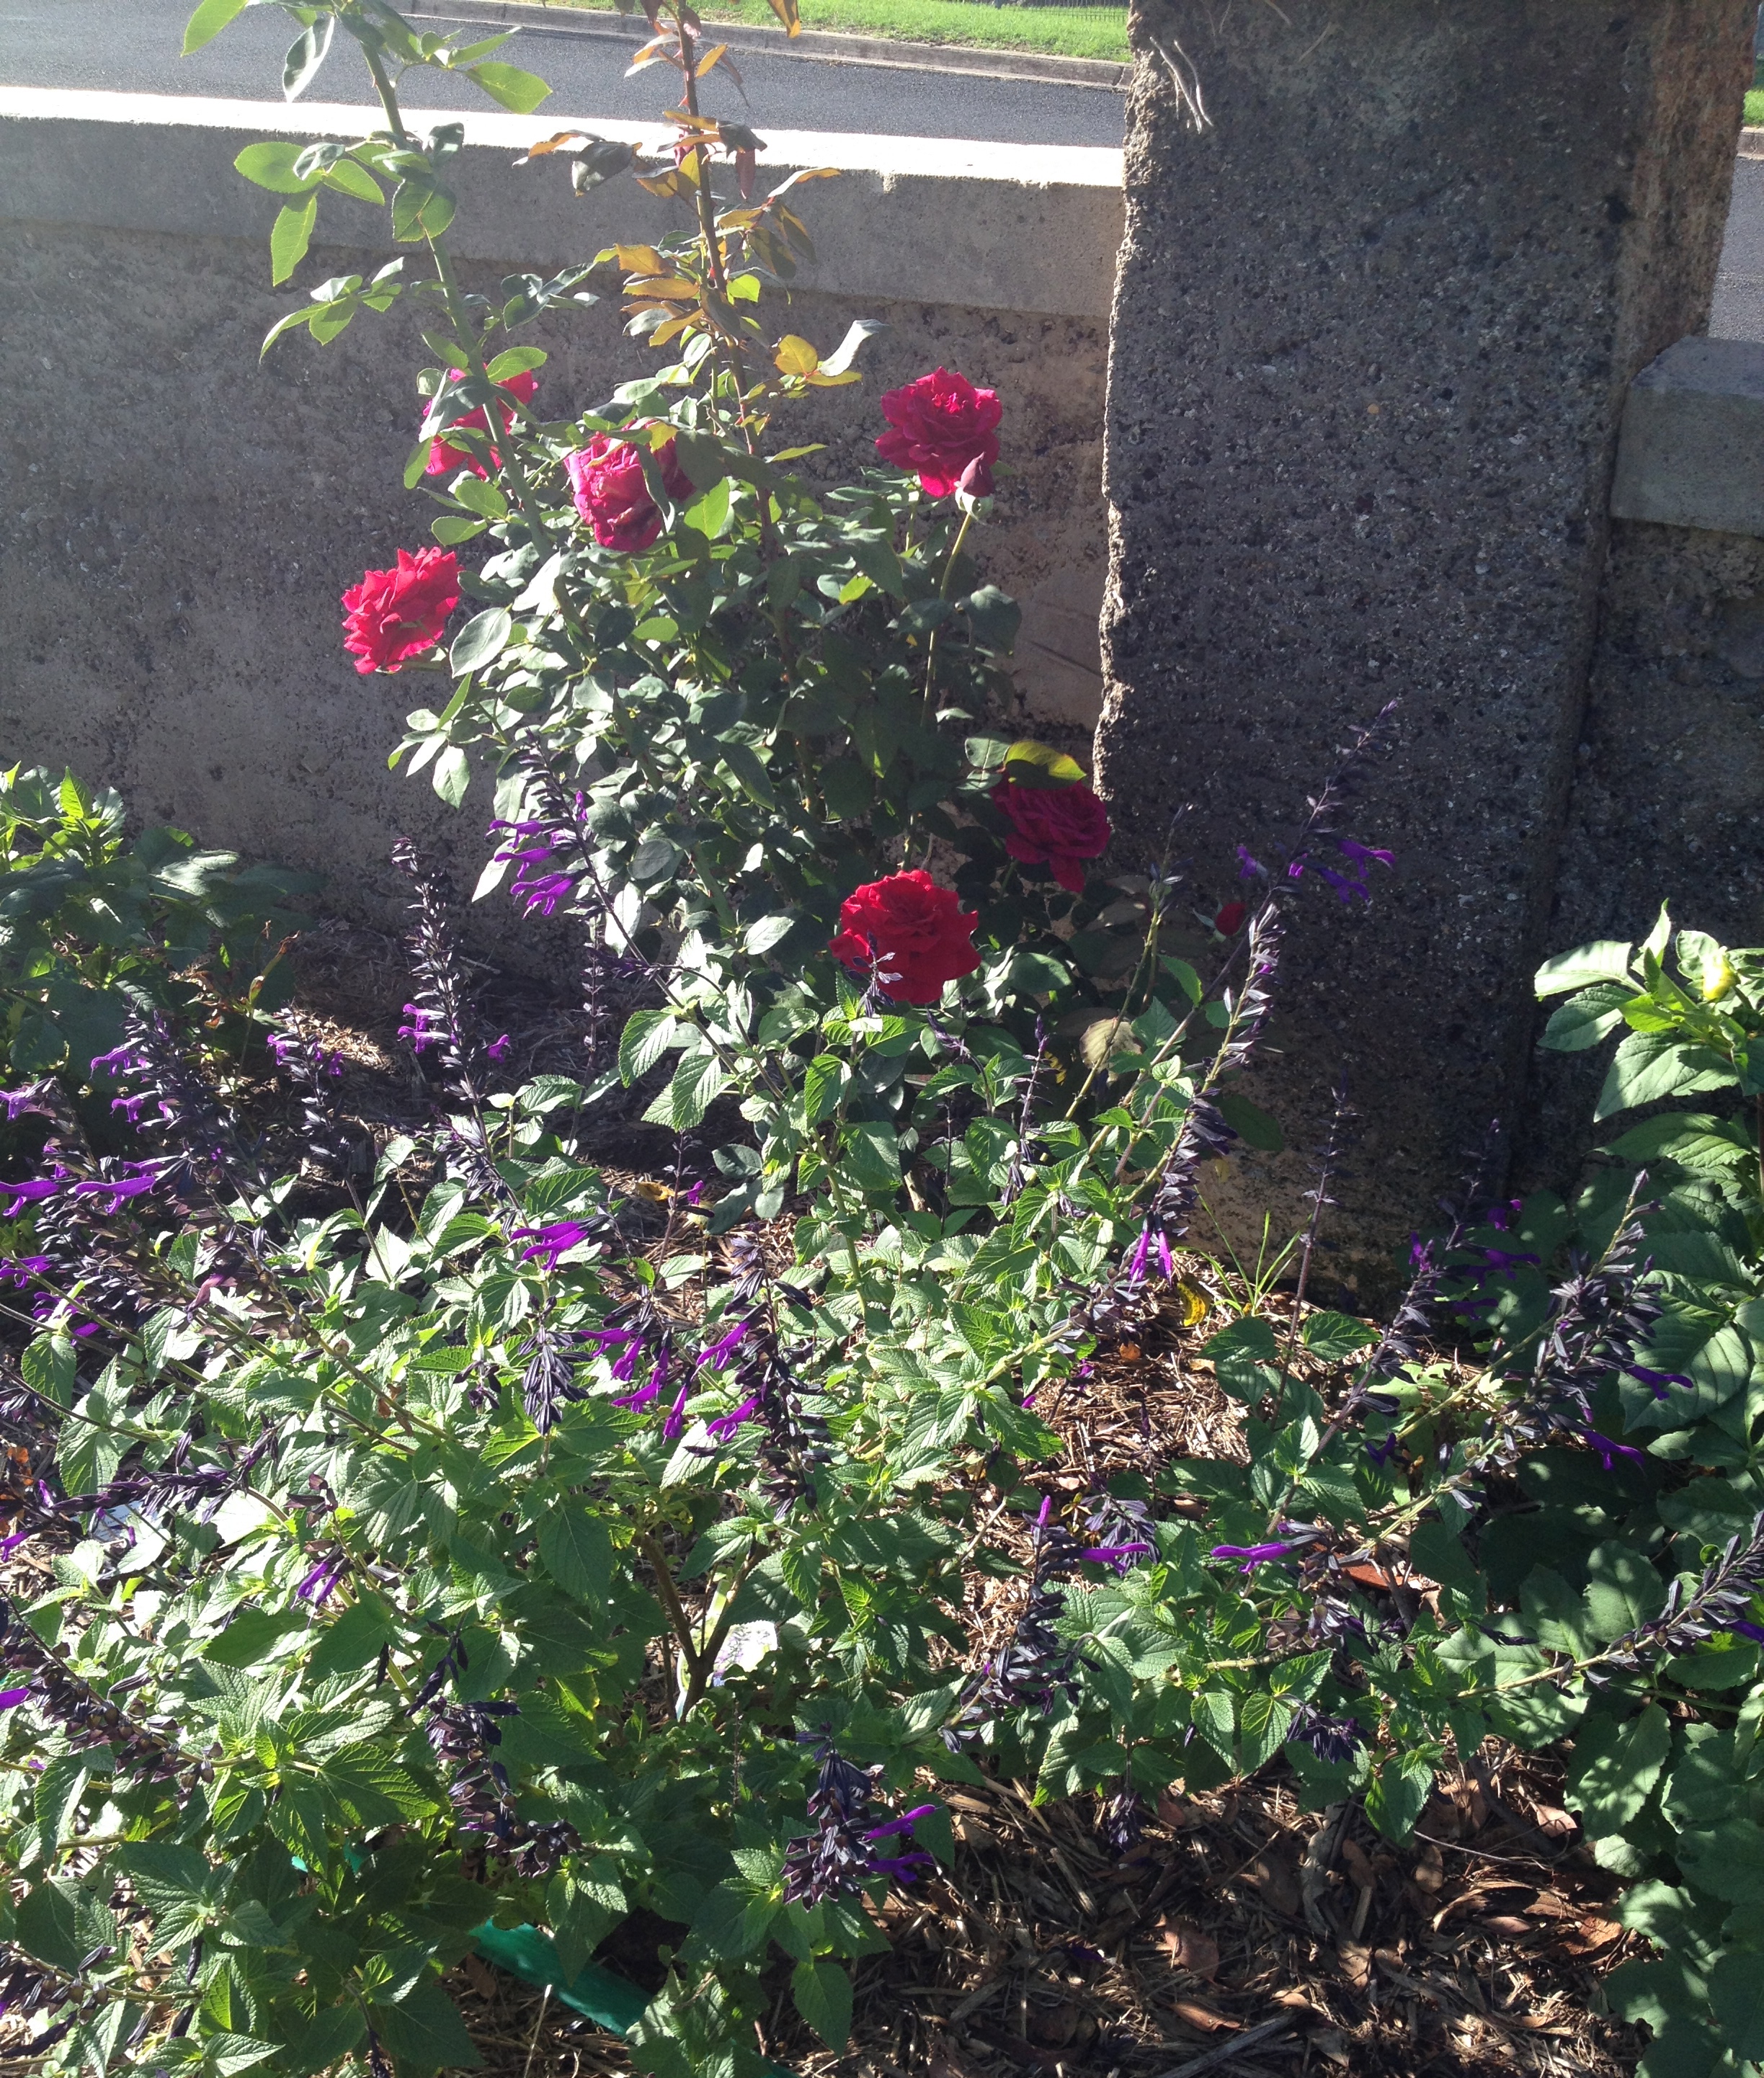
The lawns are truly grass green but the most rewarding part is the front wall garden bed which was mainly established the last quarter of last year. I’m just starting to see plants peek over the wall from the front footpath, as is the grand plan. The roses are flourishing, they just need some serious training to get them to go over the wall as they seem intent on reaching out the other way and sprawling across the ground to the grass. The Salvias are now hitting their straps as well, particularly the vibrant blue species.

The white Cosmos work well in the front circular bed and soften the exterior of the Convent

The front circular garden bed looks so much better with the white Cosmos which can be clearly seen from so many angles, including from the street. They provide a soft contrast to the Convent and are always swaying with the breeze. There are some other interesting plants in there as well for anyone looking around the garden. With the rain, I seem now to have millions of baby Cosmos springing up.

Popcorn is making his presence felt – particularly as he loves to race up and down the front wall, taking breaks to jump up and look over. A few plants have felt his momentum and are no longer garden residents. He seems to have a set racing and turning track now that I just avoid planting. Once the roses kick in a little more, I’m sure it will limit his movements.

The roses have particularly enjoyed the rain and are now going through a strong growth phase. I just need them to grow in the right direction!
The roses have particularly enjoyed the rain and are now going through a strong growth phase. I just need them to grow in the right direction! This is Mr Lincoln.

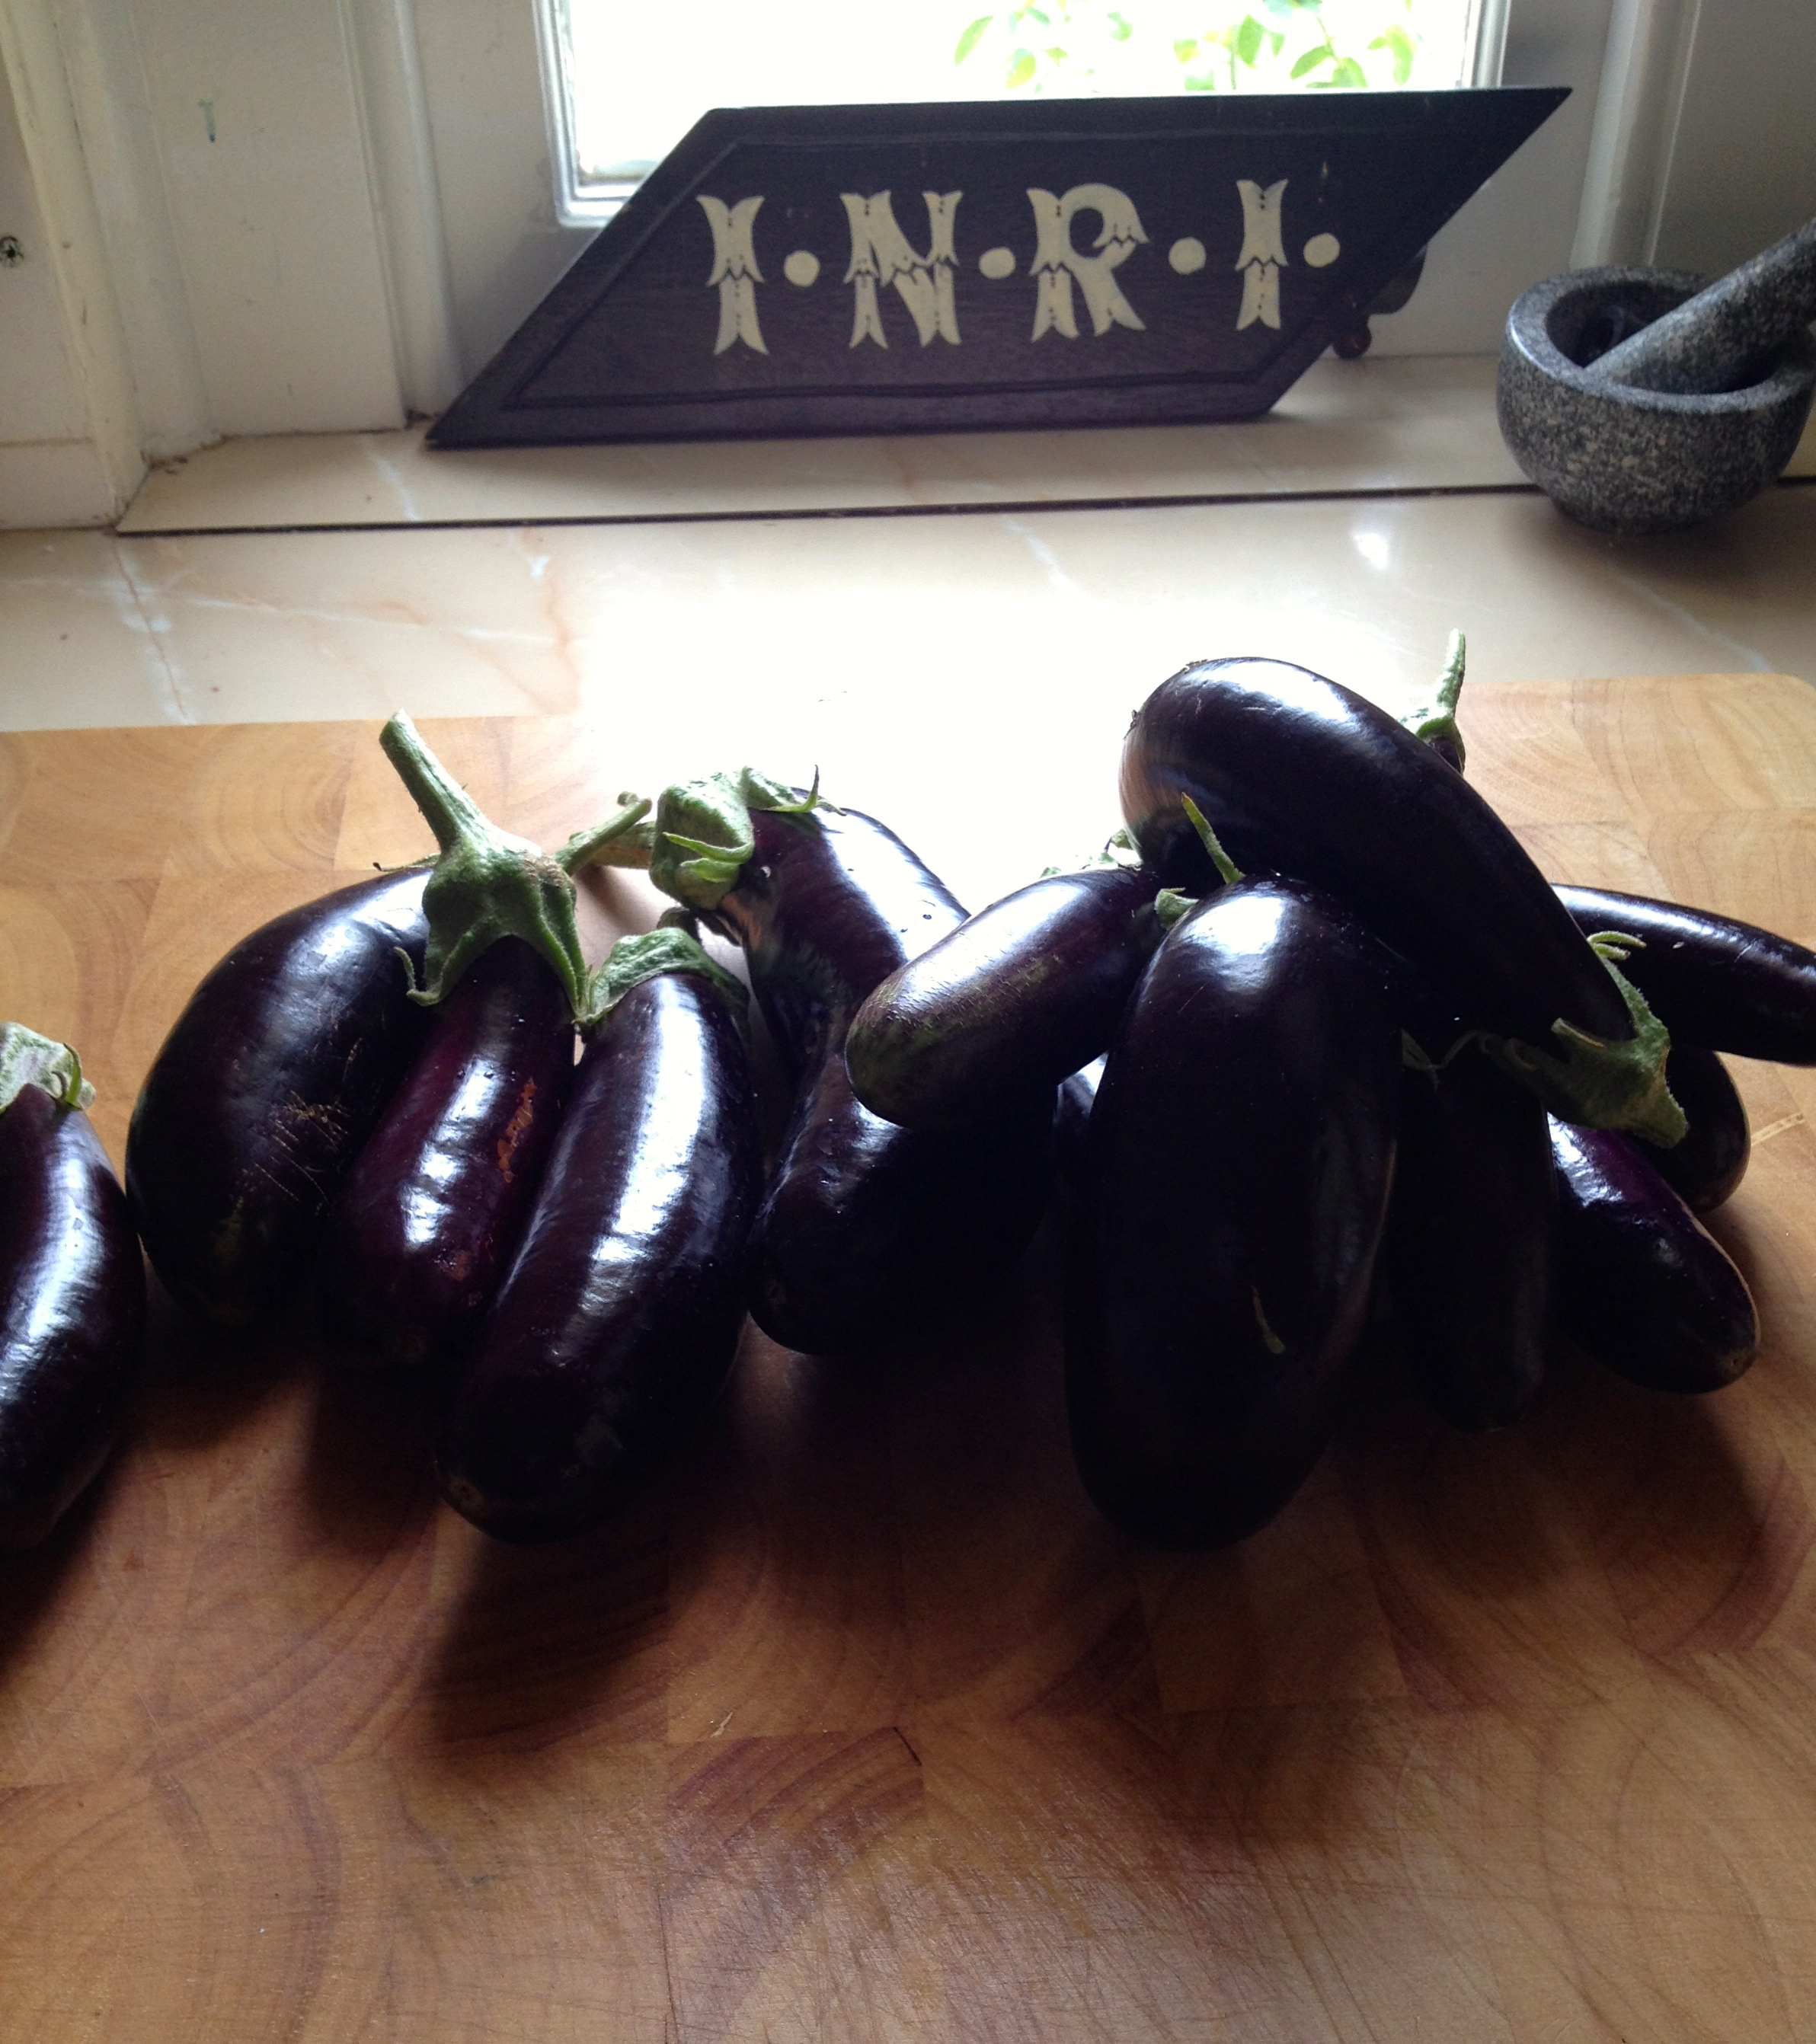
Other than bulbs, I’m now dialling back more ornamental plantings as I need to concentrate on the veg beds – cleaning out and replanting in preparation for Winter. In the meantime, I’m benefitting from what is currently ripening. In many ways this Summer has been disappointing as my first full season here, but one of the locals pointed out that it has been the worst growing season ever here in Kandos – two rounds of heavy hail that wiped everyone’s veg and stripped the fruit trees, an invasion of micro bugs that sucked so many veg dry and months of drought. It seems like I haven’t done that badly on reflection.

The dahlias, anonymously dropped at the back date by a kindly neighbour, have come into their own

Rylstone Artisan Markets – Now a Regular

I'm happy with my stall. I make sure I add a new range each market.
I’m happy with my stall. I make sure I add a new range each market.
Rylstone Pantry - my first choice for jams  for the Convent, especially the Pear and Vanilla.
Rylstone Pantry – my first choice for jams for the Convent, especially the Pear and Vanilla.

This weekend was my third consecutive appearance as a stall holder at the monthly Rylstone Artisan Markets and I’m beginning to feel like a regular. Whilst a little slow for knits in incredibly hot and dry weather, I still feel like I’m doing well, although I seem to spend most of my time chatting to people and spend far too much of my takings on other stalls.

Yes, there is handspun and hand-dyed yarn.

There is a wonderful collection of stalls – all locally produced – and is well supported by locals as well as a popular attraction for visitors.  A few new stalls have opened along with me, keeping the markets fresh. The party planner this month was such a treat for the kids – with balloon sausage dogs and a fairy floss machine.

IMG_1993
The local bakery with wood fired bread

It’s been rewarding that people are now buying kits and knitting themselves. I was thrilled to see at least four other stallholders knitting whilst waiting for customers – and they weren’t from handcraft stalls!

I think there will be a greatly increased demand as the weather starts to cool down, so I’m focussed on building up stock in the lead up to Winter. Anyway, it’s great to get sales but it’s so much fun just being there and being part of the market community.

IMG_1994
The party planner was a big hit with the children

Tomato Propagation – preparing for next season

Not quite a drinking vintage!

I’m getting braver with my gardening and now endeavouring to propagate my plants. I went to considerable trouble sourcing varieties of cherry tomatoes so it makes sense to keep the seeds of the successful plants for next season.

After a bit of research, my approach was:

  • Pick tomatoes that are ripe but healthy and not over ripe
  • Deseed them (I used a spoon) and put seeds in a labelled container. I used wine glasses which suited the process well.
  • Add a little water and swirl to mix.
  • Cover the container with plastic wrap with a hole to allow for limited air circulation.
  • Each day swirl the glass to mix. What happens is that the seeds in the liquid will ferment and gradually break away from the glutinous covering.
  • I left mine for about five days in warm weather, but which time they looked a bit scummy and fermented.
  • Add cold water and swirl, then put through a fine strainer. Rinse the seeds in the strainer until all the muck is cleaned off and you just have clean seeds.
  • Spread the seeds out on paper towels to dry – choose a dry place free from winds or drafts.
  • Leave for a few days until fully dry, fold paper towels up with seeds and place in labelled clip lock bags for next growing season.

Remember – this is my first time so I’ll need to wait until next year to see if it is successful. In the meantime I have a great collection of tomato seeds.

Dried and ready for bagging

Kandos Industrial Museum Lives

Image 1

I’ve mentioned the local museum in a previous post and that I hoped it would reopen soon. The building is special to me as it is the closest relation in town to the Convent with its distinctive Spanish mission style architecture.

Unfortunately it has been dogged by controversy and conflict over the last year or so which led to it being closed to the public mid last year. The Council have now committed to funding renovations and are handing ownership of the property over to the community via what will be a newly formed incorporated association.

Action is happening quickly with packers moving in this week to pack and store parts of the collection so renovations can begin. After all the past controversy, it is encouraging and inspiring to see the community get behind this project. The Museum is important to the locals as both the repository of their history and as a potential attraction to visitors and they are justly proud of the collection that they have built themselves.

The Museum is distinctive in that it reflects Kandos’s heritage as an industrial town – with a twentieth century past that has been forged out of mining and the cement works that founded the town. Unlike most rural museums, it is less pastoral and focuses on industries that flourished during the period of heroic nation-building. The collection has been described as idiosyncratic – it has it’s quirky elements such as the cement dress which was constructed by an HSC student and the Lady Bushranger’s teapot, but it also has a fascinating collection from cement and mining works which have played such an important and often undervalued role in building our country. These elements are often overlooked as we prefer to romanticise our pastoral heritage.

Over the past few days I’ve been helping record the museum collection as it gets packed and it has been a pleasure to meet the founding members who have popped in with words of encouragement. A sense of excitement is growing as we can see the Museum having a new lease of life (and a facelift).

The plan is that it will reopen prior to the town’s centenary celebrations over the October long weekend. There’s an enormous amount of work to do to get us to that point but if the level of support received so far is any indication, we’ll get there and have a grand reopening.

Tomato Production – semi dried tomatoes

1 1/2 kilos didn't make a dent in this bed. Lots more harvesting still to be done. And lots more tomatoes still to ripen.
1 1/2 kilos didn’t make a dent in this bed. Lots more harvesting still to be done. And lots more tomatoes still to ripen.

It’s that time of the year when tomatoes start to ripen and take over the garden. Some months ago I mentioned I had planted lots of varieties of cherry tomatoes – they seem hardier than the larger varieties and suit me as I can pick a handful of mixed tomatoes for a meal. The hail in November stripped the plants back to bare stems but they have come back with a vengeance and set the challenge to keep up with them as they ripen.

Semidried tomatoes seem to work well with the cherry variety, so I’m drying and bottling as fast as I can. They look so pretty with the range of colours working well together. My approach is pretty simple.

Tomatoes ready for preparation. A lovely collection of colours and shapes.

Firstly I line some baking trays with baking paper (just saves on the mess and makes it easier to pick up any tomatoes that drop through the rack.

I then set racks on the baking trays. The tomatoes can be pretty small and will be much smaller as they dry, so if possible, use two racks crossed over to minimise gaps.

  • Preheat oven at a low heat – 120/140 degrees.
  • Wash and thoroughly dry tomatoes. Cut in half and place in a bowl.
  • Add salt flakes and freshly ground black pepper.
  • Add heaps of chopped fresh herbs – I use oregano.
  • Add a few sloshes of olive oil and make sure all ingredients are well combined.
  • Spread out on racks, trying to keep a single layer to help the drying process.
  • Put on low shelf in oven and allow to dry out – this may take 3 – 5 hours.
  • Remove from oven and place tomatoes in sterilised jars. Top with olive oil. It may help to use a sharp knife of instrument to remove air bubbles from the stacked tomatoes.
  • Seal and enjoy.

These smaller tomatoes are great tossed in salads, pastas and casseroles and provide a rich small explosion of taste.

Happy with these as my first batch. There will be more to come - maybe I'll use basil next time.
Happy with these as my first batch. There will be more to come – maybe I’ll use basil next time.

Settling In

Popcorn has made the adjustment well and is a happy resident

A couple of months down the track post the permanent Sydney move and the place is beginning to seem more like home. Rooms have been established, including plenty of guest rooms, furniture is all in place, boxes (mostly) unpacked.

I have always wanted plenty of animals (or creatures) around and it gives the place such a greater sense of permanence. Popcorn, the border collie, was an unplanned but very welcome addition and has made himself very much at home. He is a lovely boy and fits in well with everyone, even Roxy and Tango who very much ruled the roost.

IMG_1962Speaking of roosts, I have just added five pretty little canaries in an aviary. I owned canaries when I was little and loved them, so the chance to take some in when offered was too good to pass up. They only arrived a few days ago but appear happy, chirpy and are already using their nests. They will also be a good interim step before the chooks arrive. I wasn’t sure how the dogs would react, particularly Roxy who is fascinated by birds and loves to chase them. She is equally fascinated by these new residents but given the threat of being sprayed with cold water by me, just sits and watches them by the hour. Hopefully they will take the edge off the excitement of chooks when they arrive in the next month or two.

I’m also spending some time propagating plants. Whilst it’s exciting to get new plants, I also want to have more of what grows well here. It will also be a more economical approach to gardening. Anyway, this means I’ve been collecting seeds and cuttings. I’m also now growing more plants from seeds rather than seedlings. I have a feeling there will be a few failures along the way, but lots of learning will be involved and the results will be rewarding.

One of the next activities for me is to start joining some of the local groups. I’m looking forward to meeting up with some of the spinners and knitters in the not-too-distant future. Kandos is fast becoming home.

Convent Bread and Butter Pudding

IMG_1965

A humble dessert befitting the Convent. This recipe is particularly handy as I like baking bread but homemade bread doesn’t last as long as commercial types, given it has no preservatives. I make breadcrumbs and freeze them but dishes that use the bread also are very handy. A Bread and Butter Pudding is hard to pass up and so easy to make. A great comfort food in hot or cold weather.

I partly use this blog as an easy reference point for me for my more frequent recipes but hope others enjoy them as well. I prefer recipes where I am likely to have the ingredients on hand (and that they are readily available – this isn’t inner-City Sydney for shopping).

  • half a dozen slices of day-old bread
  • butter
  • 3 eggs
  • 500 ml milk
  • 1/4 cup of sugar
  • extra sugar
  • vanilla extract or essence
  • nutmeg
  • Preheat oven to 160 degree C
  • Butter baking dish
  • Butter bread, cut into triangles and place in dish
  • Mix eggs in mixer and gradually add milk, then sugar and vanilla extract
  • Pour over bread in baking dish
  • Grate nutmeg over the top and, if you prefer, sprinkle with more sugar (brown or demerara is extra good).
  • Bake for 60 – 90 minutes until cooked (test custard is set by inserting knife and it comes out clean)
  • Allow to sit for 10 minutes (or you can serve cold).
  • Optional extras
  • You can add sultanas or dried fruit such as chopped dried apricots
  • You can also spread your choice of jam on the bread along with the butter

A Great Australia Day Weekend

A cheery spread of corn fritters, homemade bread and relishes, Convent garden salad and gr
A cheery spread of corn fritters, homemade bread and relishes, Convent garden salad and grilled cherry tomatoes

I was fortunate to spend this weekend with friends visiting the Convent. A real Australian weekend, with the Kandos Hot Rod and Street Machine Show providing a background soundtrack, a couple of barbies, a trip to Dunn’s Swamp and cricket on the telly.

It was satisfying that the Convent provided well, with all salads coming from the garden, as well as beetroot and zucchini supplementing the barbecue. Homemade bread made a few appearances and berry sorbet made use of the berry patch.

Plentiful glossy lebanese or finger eggplants

Eggplant chutney was made, taking advantage of the gorgeous little lebanese eggplants. An initial picking yielded half a dozen jars. I’m now adapting to making use of garden produce and planning meals better. I also no longer rely on star ingredients I could so easily purchase in Sydney for entertaining. It’s very rewarding to put forward courses that celebrate the garden and the seasons and visitors can help pick and prepare. I’m also making good use of quality appliances that have been so under-utilised such as my Kitchenaid mixer and ice-cream maker as well as the bread maker.

In the meantime, my friends will be willing guinea pigs as I attempt to establish Convent staple and signature dishes.

The finished product

Convent Corn Fritters

 IMG_1951

A simple tasty rustic treat for an easy but tasty brunch, lunch or even dinner.

  • 2 cans (420g) corn kernels, drained  (or less if you substitute something like cooked chicken for some corn)
  • 6 spring onions/shallots, finely chopped
  • 2 generous tablespoons of Polenta (I use a coarse grain)
  • 3 eggs, lightly beaten
  • salt and pepper
  • Olive oil
  • Combine all ingredients other than olive oil
  • Heat oil in a non-stick pan
  • Add corn fritters in large spoonfuls. Try and keep in neat mounds by edging egg run-off back to the fritter
  • Cook on first side approximately 5 minutes and 3 minutes on second side.
  • Remove and drain on paper towels
  • Serve with tossed salad. An addition of a tomato relish or slow roasted cherry tomatoes is a nice touch. Can also be served with crispy bacon

I have made this just with corn as well as combining with cooked chicken. Both have been delicious.

Onion Marmalade

IMG_1957

IMG_1953Onions take quite a long time to grow, I’ve found. They look architectural in the veg bed – someone described them as like giant chives. My brown onions have been disappointing – just brown stumps at the end of their stalk. However the white onions have been a delight. Big juicy round bulbs. It seemed a pity just to use them in various dishes, so I thought they deserved a longer life by making Onion Marmalade with them.

This is a simple recipe based on 2:2:1 with only four ingredients but has produced a wonderful rich caramelised jam.

Ingredients

  • 1 kg sliced onions (I used white)
  • 1 kg white sugar
  • 500 ml white vinegar
  • 3 tablespoons sea salt (less if you use table salt)
  • Combine sugar, vinegar and salt in a heavy based large pan and stir until sugar is dissolved.
  • Bring to the boil and add onions. Bring back to the boil.
  • Reduce and simmer, stirring occasionally until jam thickens and goes a rich golden caramel. This may take 3 – 5 hours.
  • Skim off any scum and allow to sit for 15 – 30 minutes.
  • Place in clean sterilised jars and seal. Store in cupboard. I made 6 small jars.

IMG_1956